Arch in Termux is a great way to turn your Android device into a mini portable Linux machine and you can learn the concepts of Arch Linux along with Arch Linux commands.
This article provides a step-by-step guide to installing and using Arch Linux in Termux in a simple language.
Arch Linux
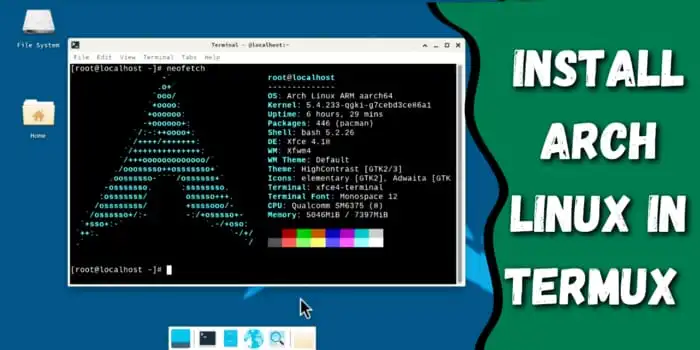
Arch Linux is a lightweight and customisable computer operating system. It was built for users who want full control over their system. Arch Linux starts as a basic setup that you can build on by adding only what you need. You can update, upgrade, and install any package with the help of Pacman. Pacman is a powerful package manager that comes with Arch Linux.
How to install Arch Linux in Termux
Installing Arch Linux in Termux is not complicated you can install it just by following some simple steps. Below are some important requirements mentioned to install Arch Linux in Termux with a GUI environment.
Requirements
Requirements to install Arch Linux in Termux, including Arch Linux GUI environment:
- Termux latest version.
- VNC viewer application.
- Internet data 1GB.
- Free storage 4.5 GB.
- Time 30 minutes to 1 hour.
Make sure that you have these requirements before installing Arch Linux in Termux.
Steps to Install Arch Linux in Termux:
Here are the simple steps to install Arch Linux in Termux.
Step 1: Install Termux
Download and install the latest version of Termux.
Step 2: Update Termux Packages
After Termux installation, open it and run the following commands to update and upgrade Termux packages:
apt update && apt upgrade -y Step 3: Install Required Packages
Install the necessary packages.
pkg install wget proot git -yStep 4: Download and setup Arch Linux
The following commands will download, install, and set up Arch Linux in Termux:
git clone https://github.com/sdrausty/termux-archlinux.git && cd termux-archlinux && bash setupTermuxArch.bashStep 5: Start Arch Linux
Once the installation and setup process is complete, you can start Arch Linux with the following command:
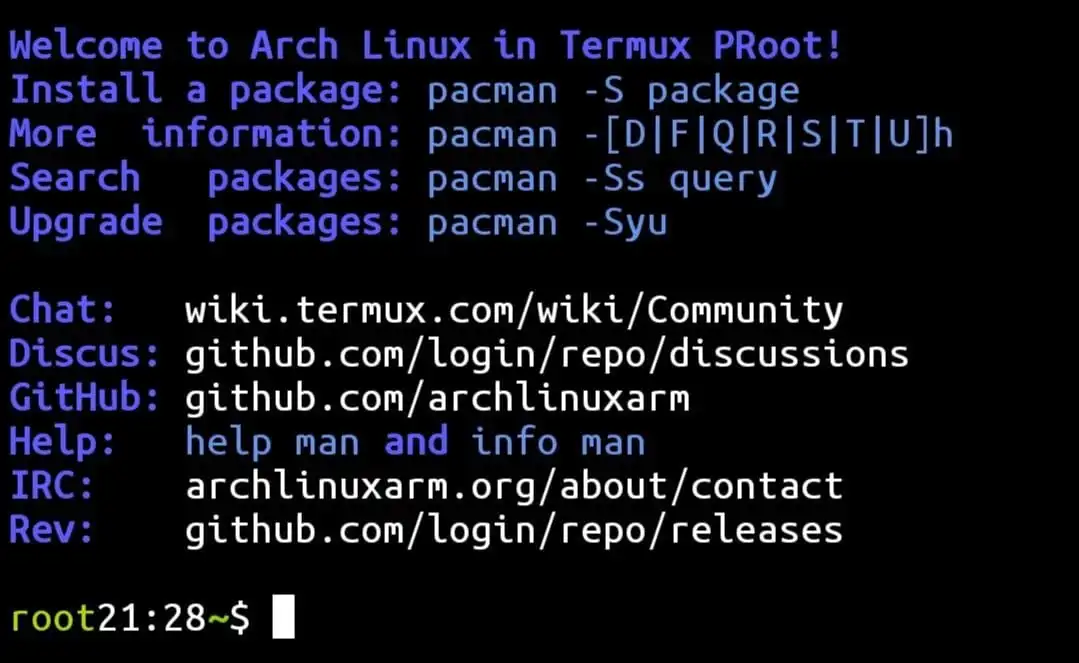
cd && cd arch && ./startarchAfter following these steps, Arch Linux will be successfully installed in your Termux, and it will take you to the Arch Linux command-line interface shell.
Step 6: Update and Upgrade
After installation, it’s important to update and upgrade the system and packages. You can do that with the following command:
pacman -SyuSteps to Install Arch Linux GUI Version:
You can use the Arch Linux desktop environment (GUI) with the help of XFCE4 and the VNC viewer application. Here are the commands and steps to install and use the Arch Linux Desktop version:
Step 1: Install Required Packages:
Run the following command to install the required package to setup Arch Linux GUI environment:
pacman -S xfce4 xfce4-goodies tigervncStep 2: Set VNC password:
Run this command and set a password for the VNC viewer:
vncpasswd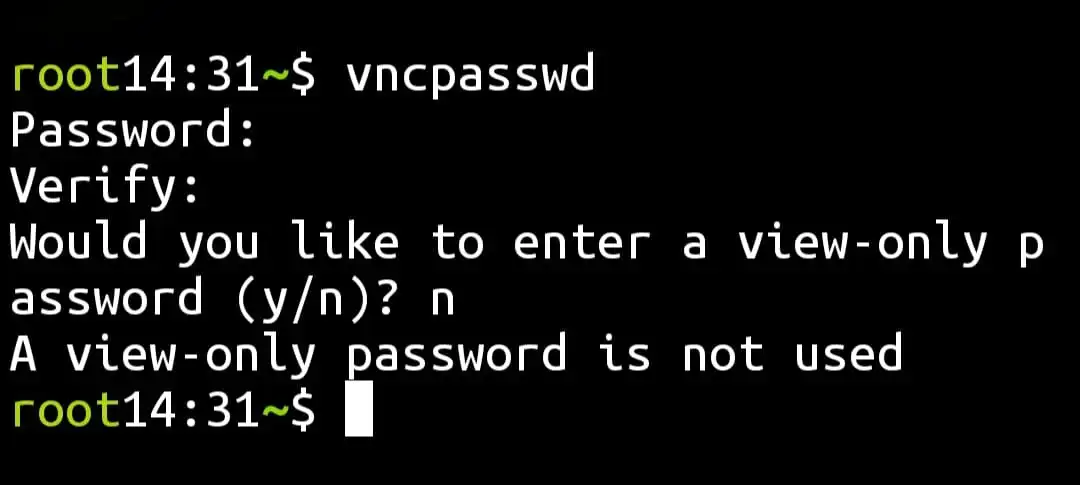
The password that you will need to set should be at least 6 characters long, and the password will not be visible to you when you are typing. Remember the password because you will need it to start the Arch Linux desktop environment in the VNC viewer app.
Step 3: Start VNC server:
Start the VNC server with this command:
vncserver :1Step 4: Install VNC viewer app:
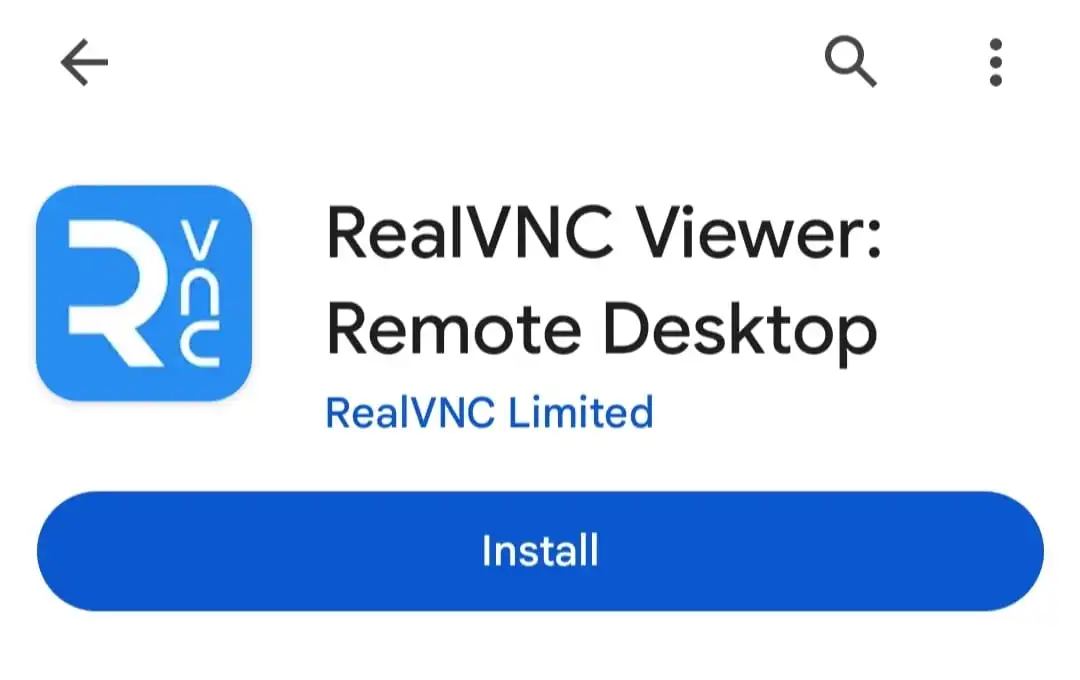
Install the VNC viewer application from Google Play Store.
Step 5: Connect VNC viewer app:
After installing the VNC viewer application, open it and click on the plus button at the bottom right corner.
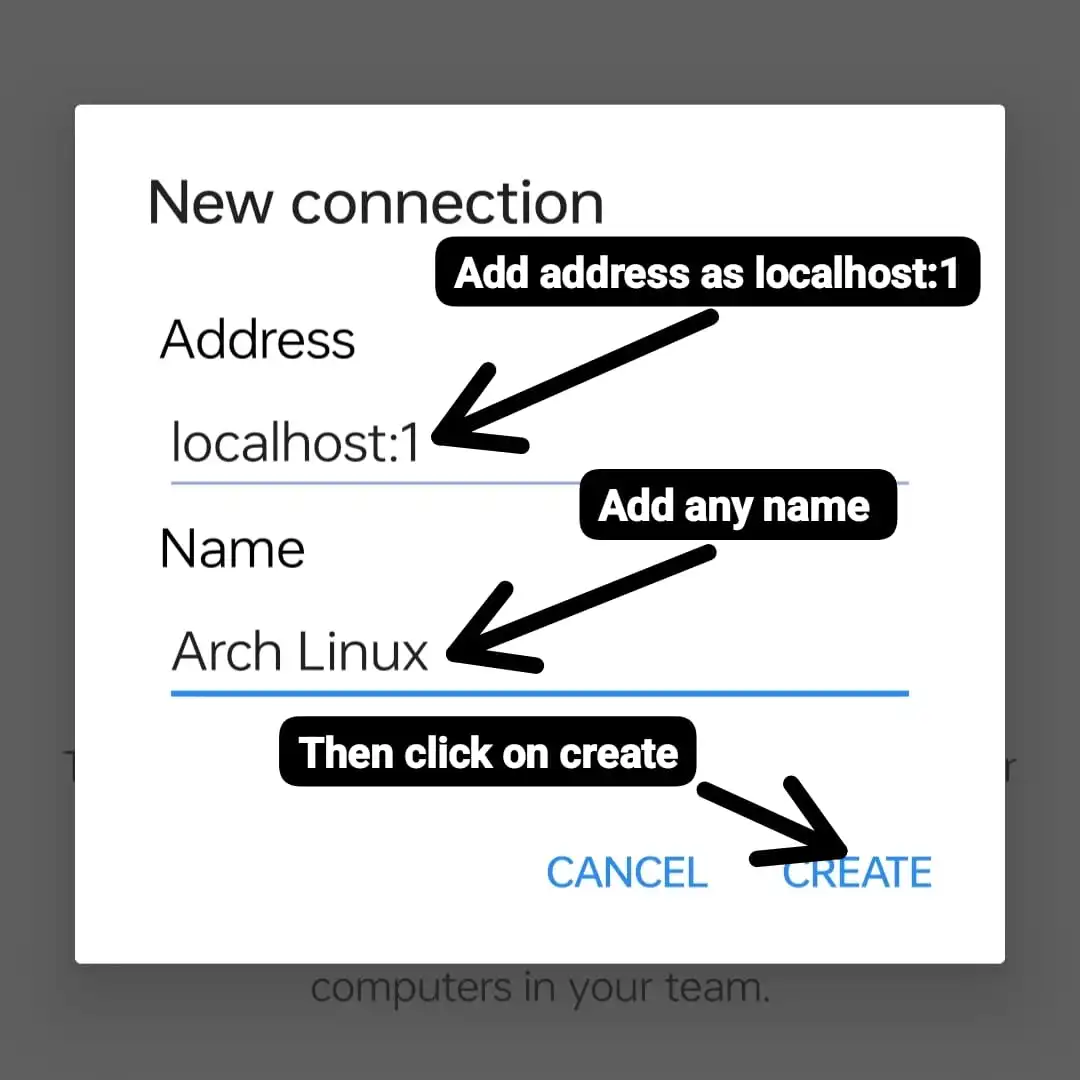
Add the address as localhost:1 and add any name, then click on Create. After that, set the picture quality option to high and click on Connect, and then it will ask you to enter password.

Enter the password that you set in the Arch Linux GUI setup process, then click on Continue, and it will launch the Arch Linux desktop environment.
Congratulations! You have successfully installed Arch Linux in Termux, including Arch Linux GUI environment.

