Wireshark is a powerful tool used by network experts and ethical hackers to analyse a network and capture its packets. It was mainly built for desktops, but you can use it on our Android device with the help of Termux and VNC viewer clint.
If you think about how you can use it, then this article will be helpful for you because in this article I have provided a step-by-step guide to install wireshark in Termux.
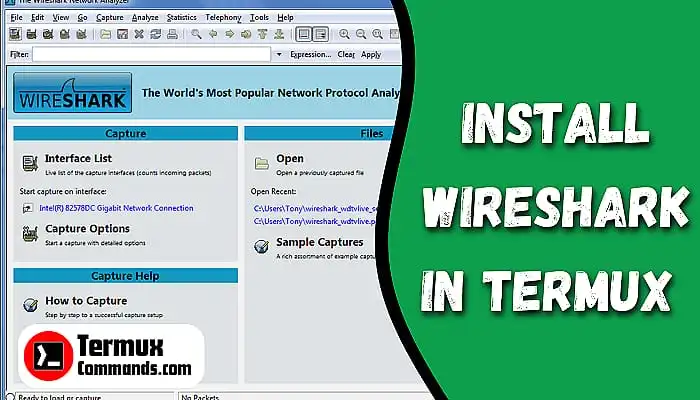
Wireshark Termux
Wireshark is a free tool that captures and analyses network traffic. It shows information about various network protocols, and it helps network administrators, security experts, and developers to troubleshoot and understand network issues.
how to install wireshark in termux
Here’s a step-by-step guide on how to install Wireshark in Termux.
STEP 1: Download and install the latest version of Termux apk from the F-droid store.
STEP 2: Open Termux and copy and paste the following commands one by one:
apt update && apt upgradepkg install x11-repopkg install wireshark-qtThese three lines of commands will download and setup wireshark in your Termux, and this process will take 10 to 15 minutes, depending on your internet speed.
STEP 3: Set up a VNC server.
Since Wireshark is a graphical application, you need to setup a VNC server to use the GUI version in Termux.
Run the following command to install a VNC server:
pkg install tigervncAfter installation, you need to set a password for the VNC server.
vncserverAfter running the above command, it will ask you to enter and verify a password for the VNC server.

Remember that the password will not be visible to you when you are entering, and the password must be at least six characters long.
STEP 4: Start Wireshark
To start wireshark, you need to run the VNC server with the following command:
vncserver :1After that, set the display environment variable and run wireshark with the following command:
export DISPLAY=:1 && wiresharkNow you are ready to use Wireshark GUI version in the VNC viewer application.
STEP 5: Download and install VNC viewer application.
You can install the VNC viewer application from Google Play Store.
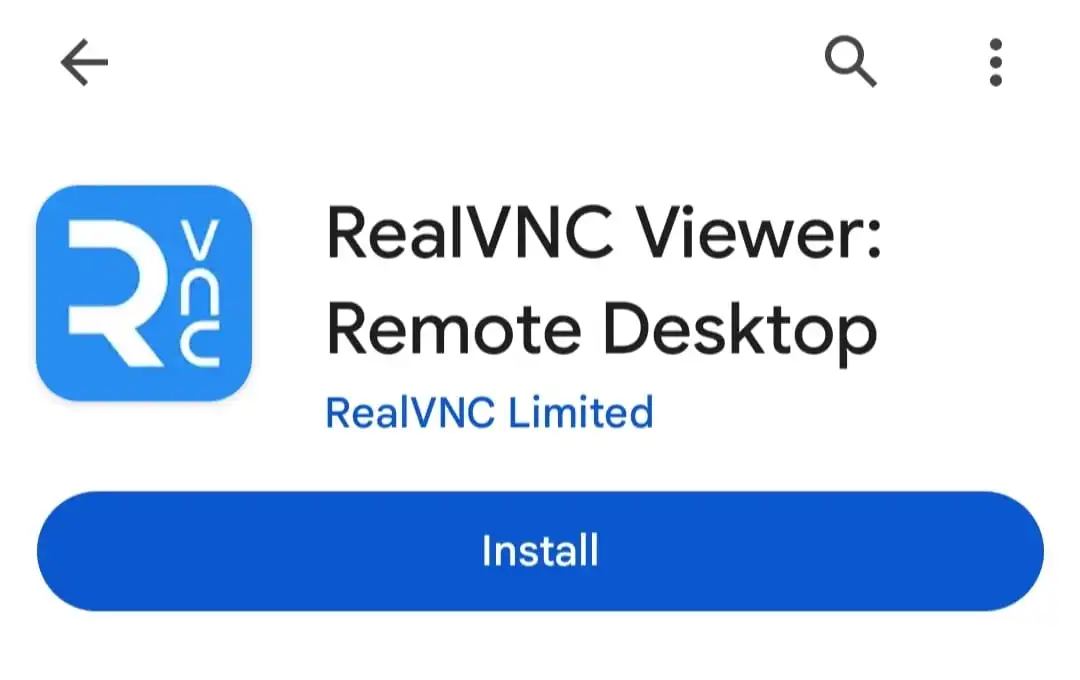
After installation, click on the plus (+) button at the right bottom corner.

Fill up the address as localhost:1 and the name as any name you want, then click on Create. After that, you will see a new page where you will find a green-coloured connect button at the bottom. Click on that.
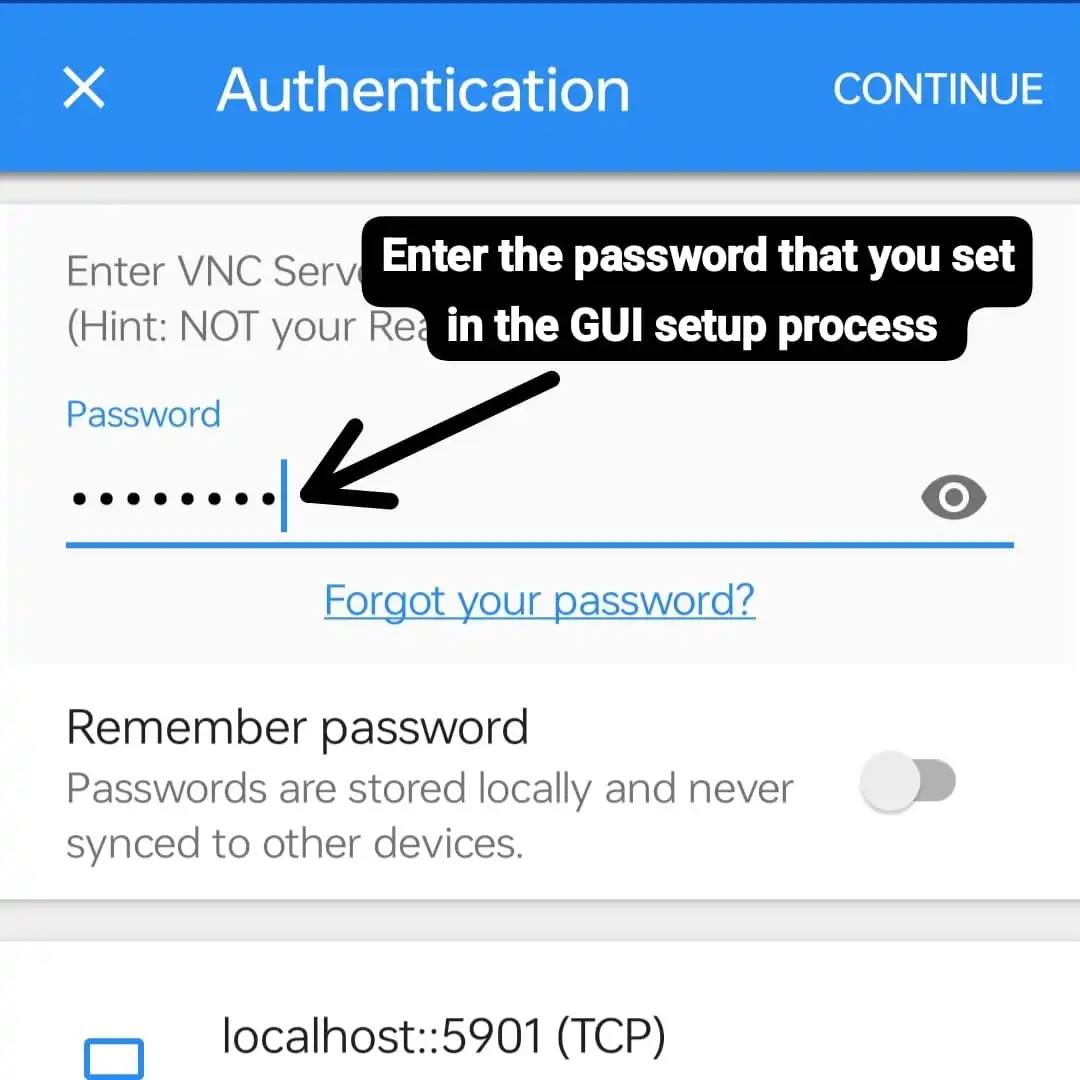
Now it will ask you for the password. Enter the password that you set earlier in the VNC server setup process, then click on Continue.

Congratulations! Wireshark is successfully installed in your Termux.
how to uninstall wireshark in termux
If you want to uninstall wireshark in Termux, then you need to delete wireshark packages and their dependencies. Here are the commands to uninstall and delete wireshark dependencies:
pkg uninstall wireshark-gtk && pkg uninstall tigervnc && rm -rf ~/.wireshark && apt autoremoveThis command will uninstall wireshark and delete its dependencies, along with Tiger VNC.
Conclusion
You can easily install and use the wireshark GUI version with Termux and VNC viewer application but it has some limitations, using a non-rooted Android device to capture network packets with wireshark is limited, but you can still install and use wireshark on your Android device with the help of Termux to analyse networks.
In this article, I have written a simple, step-by-step guide to installing and using the Wireshark graphical version in Termux with the help of VNC viewer.


